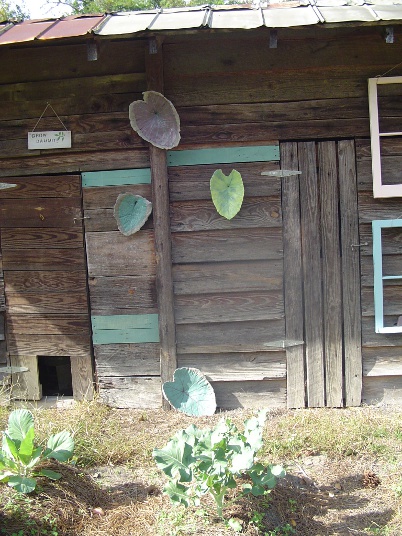
I didn’t grow up eating collard greens. They’re more of a southern thing and I was born and raised in the north.
When we first moved to the south, I regularly saw greens offered as a side dish at restaurants. And, frankly, I didn’t think they looked or smelled very appealing.
But, that was then, and I get it now! I love greens!
Greens are any sort of cabbage in which the green leaves do not form a compact head. They are mostly kale, collards, turnip, spinach, and mustard greens.
And, they’re good for you. They are an excellent source of beta carotene, vitamin C and calcium. The antioxidants and phytochemicals in collards may help to reduce the risk of some forms of cancer and heart disease. And, the soluble fiber in greens is really good for a healthy digestive system (if you know what I mean).
There are a handful of variations on the theme, but traditionally, all collards are cooked the same way in a liquid at a low simmer with smoked or salted pig meat added for flavor until any bitterness is cooked out of the greens and they are soft. The liquid, known as “pot likker” is a very important component of the finished dish. It is said that the pot likker “will cure whatever ails you, and if nothing is ailing you, it will give you a good cleaning out.” The best way to devour pot likker is with some fresh baked cornbread.
Collards are served with black-eyed peas and hog jowl on New Year’s Day to bring good luck and wealth in the coming year.
I’ve also read that hanging a fresh leaf over your door wards off evil spirits and a fresh leaf placed on your forehead with cure a headache.
And, finally, collard greens are the official vegetable of South Carolina!
Here’s how I make a “mess o’ greens.”
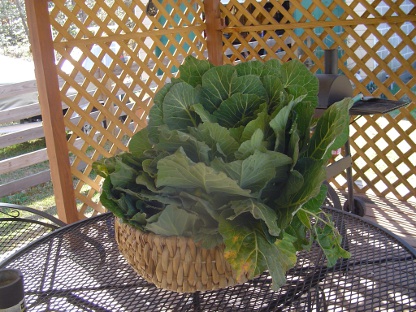
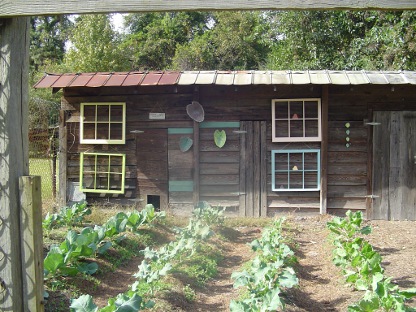
First, I cut several bunches from the garden. You can purchase them in either bunches or bags at your grocery store if you don’t grow your own.
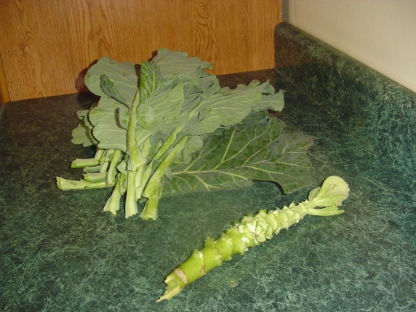
Next, pull all the leaves from the stem and discard any yellowed or brown ones.
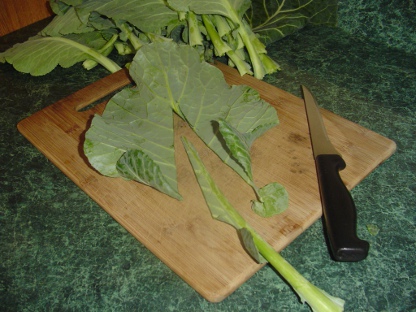
Next, cut out the big tough vein in the center of the larger leaves. True southerners fold each leaf in half and tear the vein off, so they say.
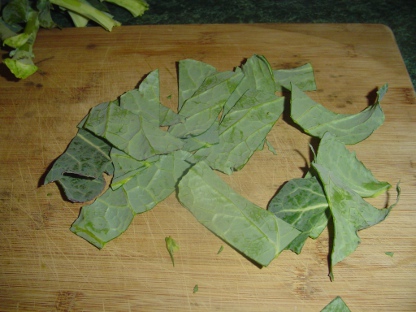
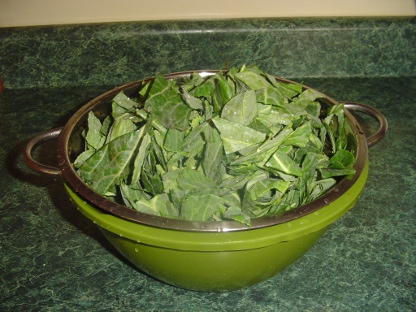
And, then chop them into 2 or 3 inch pieces.
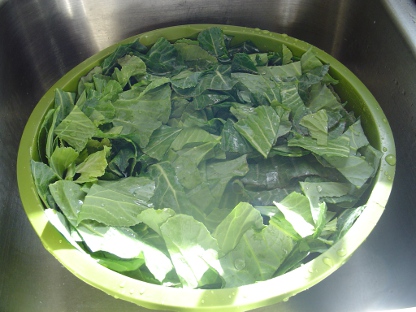
And, put them in a bowl filled with cold water to remove loose dirt.
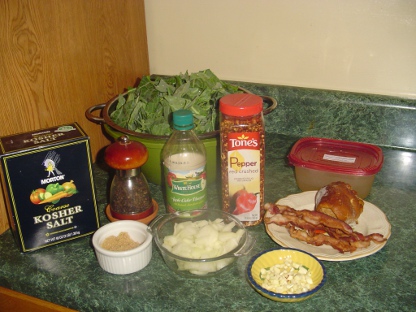
And, then let them drain while you assemble your ingredients.
I had cooked some bacon earlier in the day, so had it already prepared for this dish. And, don’t worry, I give you the ingredient list and quantities at the end of this post.
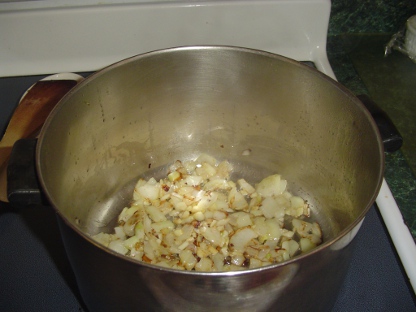
In a large pot, cook bacon until crisp and remove from pan.( I had done that step at breakfast, so no picture!) Next, cook your diced onion and garlic in a couple of tablespoons of the bacon drippings until tender and lightly browned. About 5 minutes.
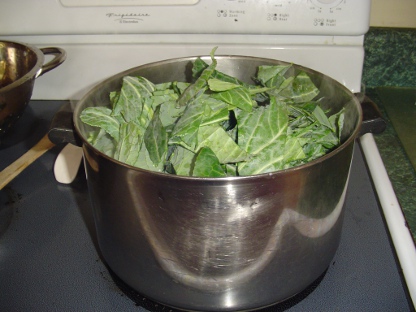
Then, add your greens. You might have to do it in several batches if your pot can’t hold them all. As they wilt, you can continue to add the rest.
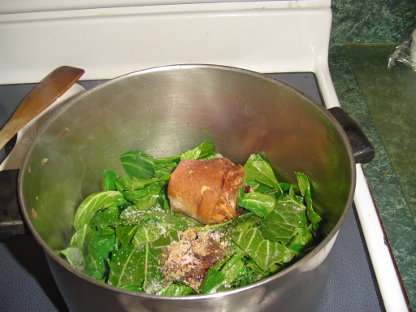
On this particular day, I did not have enough bacon to properly season a whole pot of greens, so I added a ham hock, too. Add your crumbled bacon and all all the other ingredients to your pot, reduce heat to low, cover and simmer for 45 minutes or until greens are tender. Serve with your favorite meat dish and some cornbread to sop up the pot likker!
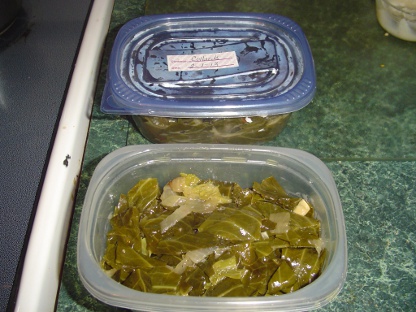
One pot of greens is a little much for Brian and I to eat ourselves, so I freeze some for summer eating!
Killer Good Greens
1 12 oz. (or larger!) pkg. bacon (or a couple of ham hocks, or diced ham)
1 large onion, chopped
3 cloves garlic, minced
1 tsp. salt
1 tsp. pepper
3 cups chicken broth (you can use vegetable broth or water instead)
1 tsp. red pepper flakes
1 tbs. brown sugar
A splash of apple cider vinegar
1 pound fresh collard greens (or mustard greens, or turnip greens, or spinach or cabbage, even!)
1.In a large pot, cook bacon until crisp. Remove from the pan.
2. Add onion, cook until tender. Add garlic and cook until fragrant. Add collard greens and fry until they start to wilt.
3. Pour in chicken broth and your remaining ingredients. Stir to mix well. Turn heat to low. Cover and simmer for 45 minutes or until greens are tender.
Note: for a healthier version, you can substitute turkey bacon or a turkey leg, if you desire. And, you can brown your onion and garlic in olive oil.

