I like to try new things. There’s nothing quite like that initial excitement of discovery, that euphoric feeling of figuring it out, doing it right, creating that thing of beauty. Know what I mean?
Then again, sometimes, learning what NOT TO DO is as as good as it gets.
I’m not sure how this all started. I think it happened that my brother-in-law, Gary, wanted to take a magnolia blossom home after vacationing at my house about a month ago.
Magnolia flowers are big and beautiful and it struck me, then, that I wanted to try to preserve a few, both for me and for my sister and her husband.
So, I got on the internet and did a quick search and discovered several methods to preserve flowers.
The first method I tried was coating a whole flower with Mod Podge since I had some of that on my craft shelf. My sister, Pam, helped. After carefully painting the gluey stuff on and in between and under every petal, we left it to harden. Within hours, the flower browned. Fail One.
The second method was drying in a dehydrator. I had never used my dehydrator before. A gift from my mother-in-law, it sat unopened for over a year on a shelf in the utility room. I took it down once, last fall, and tried to sell it at my yard sale, and almost donated it to Goodwill afterwards, but, in the end, stuck it back up on the shelf, completely forgotten again until I read an internet suggestion that it is a viable way to dry flowers.
Thrilled that it had not sold at the yard sale, or found its way to the local Goodwill, I pulled it off the shelf, read the instructions for using it to dry flowers and decided to give it a try.
After Brian cut a blossom from our tree (too high for me to reach), I placed it on one of the drying trays and tried to fit it onto the dehydrator. Oye, the blossom was so big, the lid wouldn’t come close to fitting over it! So, I cut more of the stem away, forced the lid on the dehydrator and broke the flower in the process. Fail Two.
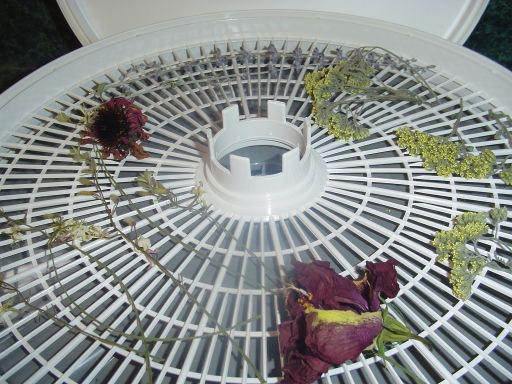
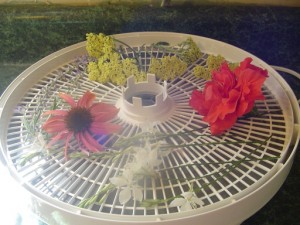 Since this never used piece of equipment was out of the box and set to go, I decided to clip some other smaller flowers and dry them. I snipped an assortment – lavender, hibiscus, yarrow, coneflower (don’t they look pretty?) – placed them on a dryer tray, popped the lid on, set it to the instructed temperature and prepared to wait 10-12 hours. Easy Peasy.
In the meantime, I decided to re-check the internet more thoroughly for better instruction on preserving magnolia flowers.
Ideally, according to the site I found, using silica gel is the best method for preserving magnolias. Bulk silica gel can be found at floral craft stores and is rather expensive according to my source. Since it would be a very long drive for me to get to a floral craft store and since I was broke and since I was in the preserve-magnolia-blossom-NOW mode, I decided this method was out of the question.
Second best choice is equal parts Borax and white cornmeal mixed with 3 tablespoons of salt per quart.
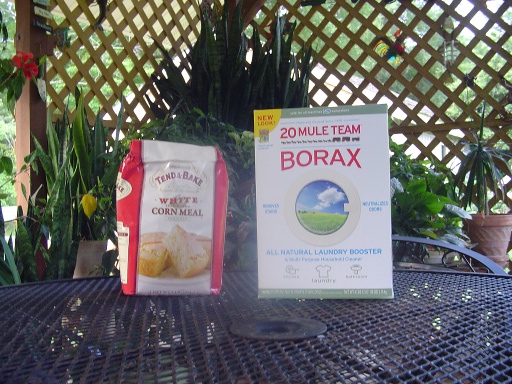 I found Borax and white cornmeal at the Piggly Wiggly and mixed a batch of desiccant.
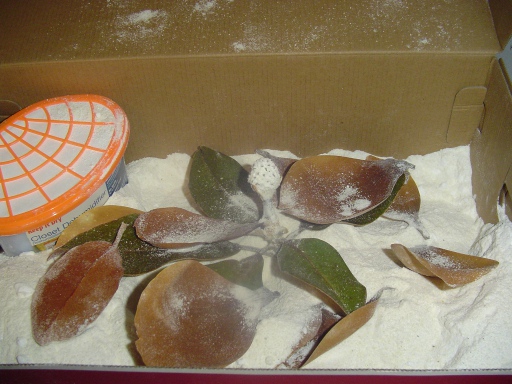
In the end, to cover the whole flower, as per instructions, I had to use the whole box of Borax and the whole bag of cornmeal (at a cost of about $9.00 for ONE flower).
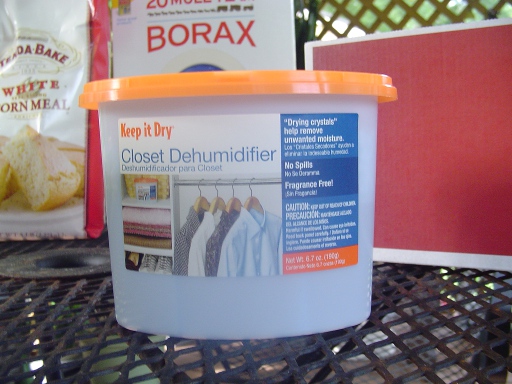 I also opened a new closet dehydrator (my last one, too) and inserted it into the box with the other stuff. Anything to help the drying process, I reckoned.
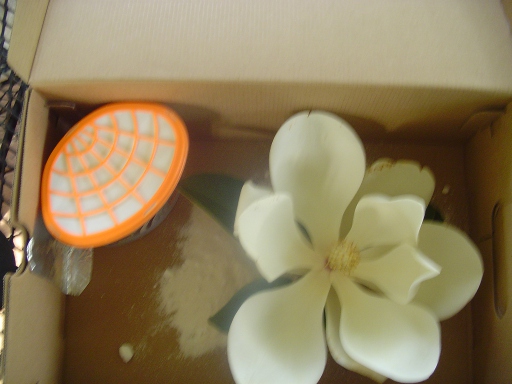
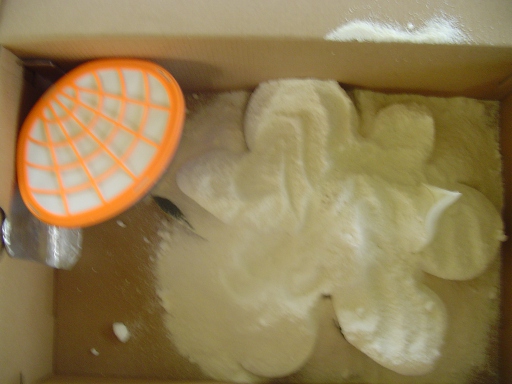
 The instructions said to leave it alone for two to three weeks and then gently check to see if the flower is dried and papery.
In the meantime, I checked the other flowers drying in my dehydrator and here is the result:
Okay, so maybe you can’t tell by the picture what an EPIC FAIL this was, but trust me, it was.
And, after two and half weeks – slowly, gently uncovered – here is the magnolia blossom:
I learned a couple of things working on this flower preservation project, mainly that there are dozens of practical uses for Borax all around the house and I should keep a box on my shelf just for the hell of it. Oh, and I learned how to spell desiccant (one ‘s’, two ‘c’s). Fail Three.

