How to germinate a magnolia tree from seed, part one

Some of you might remember my failed experiment earlier this summer at drying magnolia blossoms. I might try it again next year, if I can get the proper desiccant (silica gel) in an appropriate amount at a reasonable price.

In the meantime, it is now Autumn and the magnolia blossoms have withered, leaving the pods filled with seeds for the birds and squirrels to eat.  The pods are pretty cool – big as pine cones and shaped like them, too.  I gathered a few fallen pods a few years ago and tried to make art out of them, but that idea failed as miserably as drying the blossoms had. I’m thinking of trying to preserve some pods again this year, this time using my handy dandy dehydrator or the oven to dry them out before painting.

But, my latest idea involves germinating magnolia trees from seed.

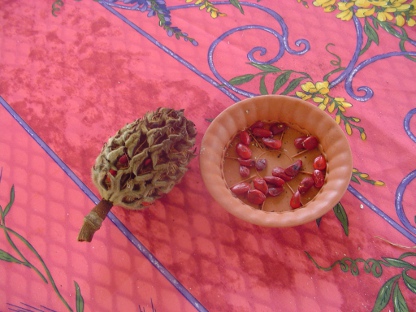
I picked a few pods on the ground near my tree and removed the seeds the squirrels and birds did not eat. Then, I researched the internet to find proper germination instructions.

The internet said to scrape the red covering off of each seed, “scarify” them and then chill for a few months.

In the spring, I can plant the seeds about an inch deep directly in the soil or in pots and wait for a few weeks for them to germinate. After that, it only takes about 15 additional years to get some blossoms!

Will this be another failed magnolia attempt or might I finally find magnolia success?

My magnolia pods are about the same size and shape as medium-sized pine cones. After the seeds are removed, the pods can be dried and then used for crafty centerpiece projects and other cool outdoorsy decorations. The red covering on the seeds is easily scraped off with a fingernail.

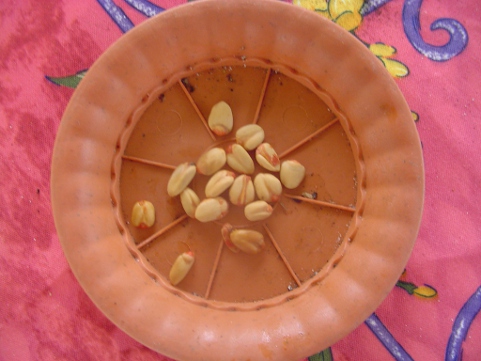
After the outer covering was removed, I washed them in plain water.

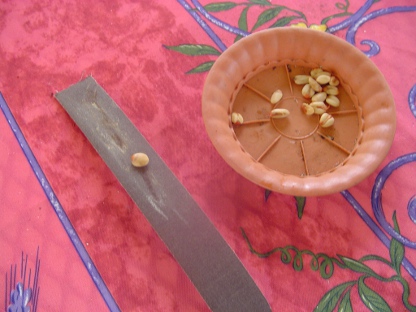
Then, I “scarified” them. Scarifying is the process of roughing up the seeds with sand paper or steel wool. I used a piece of sandpaper.

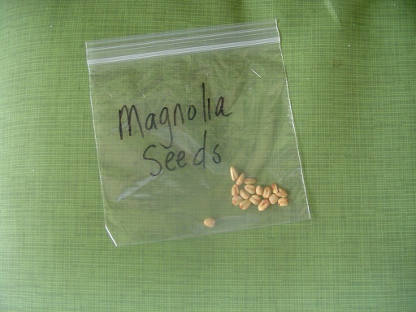
Then, I labeled them and stuck them in the workshop refrigerator for the winter.

I hope come Spring there is a part two to this story!

Share

Indulging my creativity

It’s been a busy summer here – what with Sister Vacation and the vegetable garden and the preserving of plums, peaches and figs and the preserving of the garden harvest of tomatoes, peppers, green beans and corn and baking zucchini breads and eggplant parmesans and making pesto with the garden surplus to freeze or give away.

AND, out of 16 summer-ish weekends, I’ve entertained 10 additional weekenders. Now, don’t get me wrong, I love visitors! But, I want every single one of them to love where I live as much as I do, so I overly fret if they will eat well and have a wonderful time.

AND, then there’s the BIG outdoor projects – the bush whacking, hedge trimming, stump digging, chain-saw cutting, building plant shack endeavors– those super dirty, sweaty, back-breaking, knee-slamming, neck cracking jobs that have resulted in scratches, scrapes, bruises, achy muscles and poison ivy.

AND, of course, there’s the on-going job hunt, and creating my own web design/writing business. And, learning the quatrillion things that I don’t know about creating my own website design/writing business.

But, still, I find a bit of time here and there to indulge my creativity. I’ve made a ton of new and exciting foods using zucchini and eggplant and figs and plums. I’ve experimented with making yard art using all kinds of different media – concrete, old windows, rusty wire, window springs, twigs.

Indulging my creativity is good for my soul.

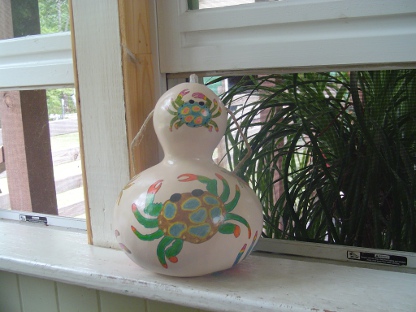
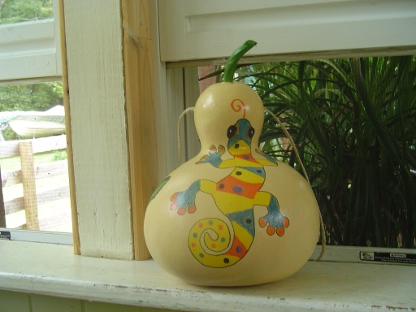
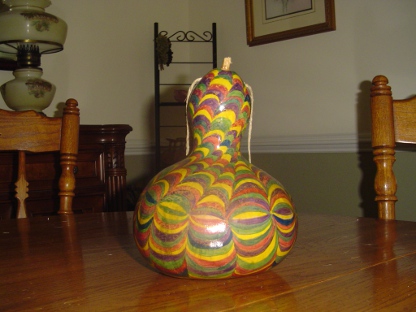
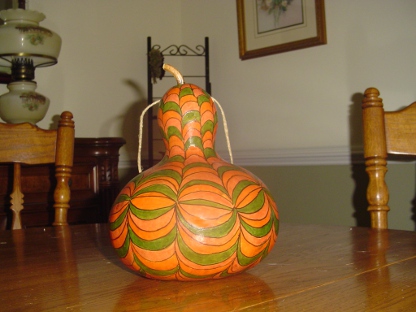
Today, you can see some new gourd art I’ve created since the last time I posted pictures.

What have you been up to?

Crabby


Lizzy

Kaleidoscope

Stained Glass

Share

Love shack, baby love shack

Ever since we bought our little country bungalow ten or so years ago, I have wanted to update a little outdoor building I refer to as my plant shack.

I’ve loved my little plant shack from the very beginning. I’m not sure why. It should have been torn down, it was so ramshackle. I guess I fell in love with the idea of having a grown-up place to play – a place I could call my own.

So, Brian and I have looked at it for years, wondering if it was salvageable or if it should be torn down. It always took a back seat to the gazillion other projects we worked on in our spare time. And, during all that time, I dreamed about all the fun stuff I would do if I ever had my very own woman cave.

So, for 10 years, even though there were no walls on this building, I kept my plant supplies, gardening supplies, pots and tools stored on the shelves.

One year, Brian wrapped the building in heavy plastic (as a temporary solution) and I overwintered a myriad of plants in there. The plastic walls lasted only a year and did not keep out the cold temperatures as much as I would have liked, so in subsequent years, I dragged all of my plants inside my tiny house again for wintering.

But, then, just last week Brian finished a job several days early and had a few free days to work around the house. He suggested that he could begin the work on my plant house or finish cutting out some overgrown brush and stumps in our front yard.

Well, we all know what I wanted to do.

First, I emptied out the old hen house of all the old windows we had been saving, sorting them according to size and quality. These will be the new walls of my plant house.  Pictured above is about half of out stash! Then, I moved all the contents of my plant shack to the now empty hen house for temporary storage.

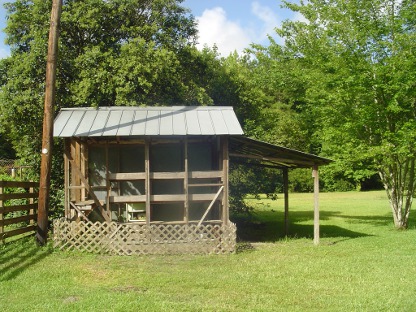
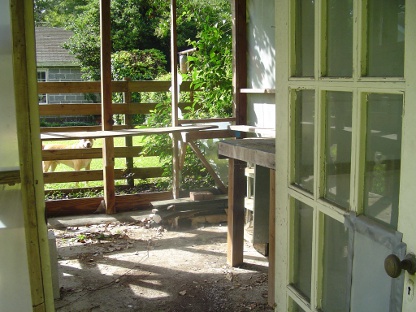
In the “before” photo above, you can see the tin roof and covered porch. And, in the photo below, the concrete floor. This is where we begin.

(Oh, yes, and Sam Dog wanted to get in on the picture, too! He’s such a ham.)

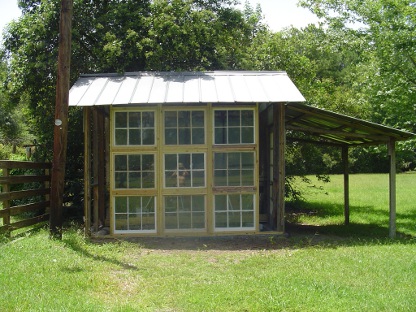
So, after two days, here is what we have to show you.

Oh, yeah, baby, I’m already loving it and everything it represents! My very own charming, shabby chic, funky junky love  plant shack!

Soon, very soon!


Share