Cindy’s Best Ever Bloody Mary Mix

Today I’m going to share with you my favorite Bloody Mary Mix recipe. This makes a pitcherful.

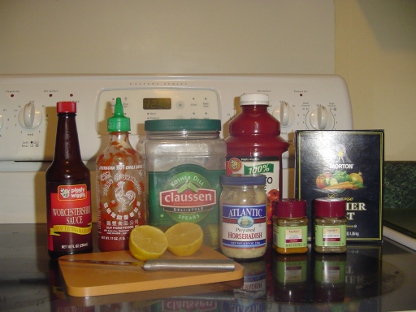
First, assemble all the ingredients:

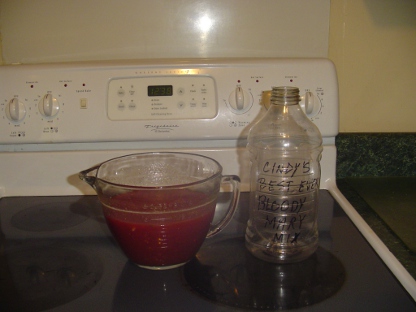
Next, mix it all up.

I have an 8 cup Pyrex container that works great for mixing.

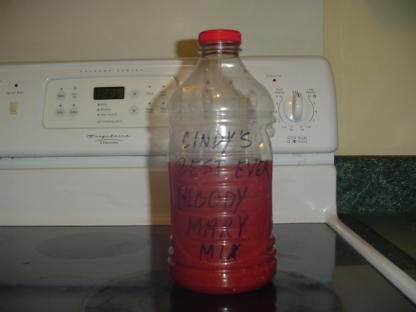
Then I transfer the mix into my “Cindy’s Best Ever Bloody Mary Mix” container, which is a re-purposed V-8 container).

Then, put it in the refrigerator and chill overnight.

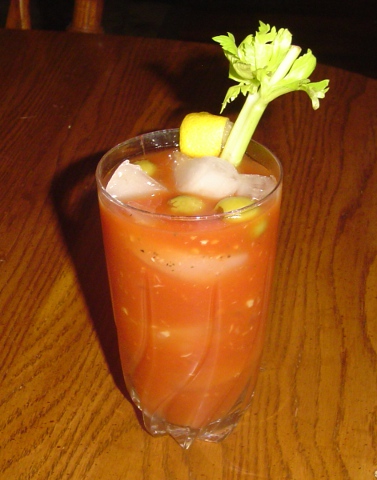
The next morning, add 2 cups vodka before serving!

Or, do like I do, and instead of adding all the vodka at once, just add a shot or two to each individual glass, fill with mix and garnish with whatever toppings you like best!

RECIPE:

4 cups tomato juice
1 cup pickle juice
1/4 cup fresh lemon juice
1 tbs. horseradish
2 tsp. worcestershire
2 tsp. curry powder
1 tsp. sriracha sauce
1 tsp. kosher salt
1/2 tsp. celery seeds
1/2 tsp. black pepper

Mix and chill overnight.
Add 2 cups vodka before serving.


Share

Shedding a little history

Or, more precisely,  a little history about the shed.


We’ve got a few outbuildings on our property.

One is called the workshop. When we first moved here, it had a dirt floor and was, in general, a pretty crappy building. Now, it has a nice solid concrete floor, shelving units, work table and new windows. Brian’s man-cave.

Another building is called the plant shack. We began the re-build on it this past summer and it is starting to look pretty good. We hope to complete it over the winter so I can use it for my plant stuff and craft stuff and general woman-cave stuff.

The third building is called the shed.

I don’t know a lot about how the shed came to be. It was here when we bought the house 10 years ago. The shed looks very old; some of the wood is rotting and the tin roof is rusted. Amazingly, it stays very dry inside.
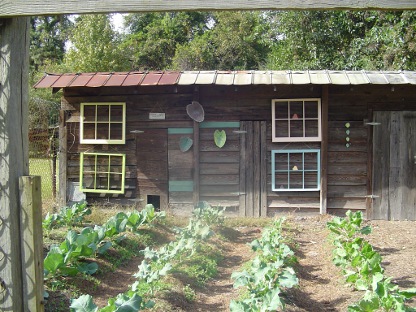
The shed is approximately 10 feet wide by 18 feet long. There are three doors on the front, although two look like they were added later, since they are not framed like the one on the far right.

Inside, the shed is divided into three stalls with concrete floors. At one point the shed was used to house goats, so says my neighbors. And, later, another previous owner used it for his hunting dogs. A high chain link fence kept the animals in.

We first used the shed as a chicken coop. Brian built nesting boxes and a roosting ladder for our dozen laying hens, one of which, turned out to be a rooster. His name was BOB, but later we called him PSYCHO BOB. I have a handful of funny stories I could share about our chicken experience. Maybe some other time. Anyway, we raised chickens for about 5 years before we gave it up. That tiny opening on the far left door is one we cut as an opening for the chickens to go in and out of their coop.

Now, we use the shed for storage. We keep most of our lawn supplies and other outdoor gear in there. Temporarily, I am housing my plant supplies in there, too.

We use the fenced area in the front of the shed for our vegetable garden. FYI, this winter I am growing collards, cabbage, broccoli, cauliflower, Brussels sprouts and sweet onions.

There is a feral cat in the neighborhood that will not let us get close enough to her to catch her and get her to the vet for spaying. She has used the shed as her birthing center four times now. And, although we don’t chase them away, when the babies get old enough, she takes them over to our neighbor’s house to live with a few other outdoor cats.
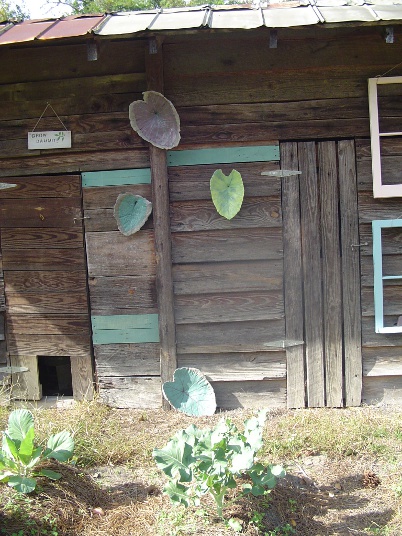
This summer, I started decorating the outside of the shed. I spruced up some old window frames and hung them to add a bit of color. I also tried my hand at leaf casting (making leaves from concrete) and, I’ve hung a few of my early experiments on the wall, too.

The next project for the shed wall is converting a fan (from an old broken box fan) into a wall flower.

I’m becoming the queen of funky junky.


Share

How to germinate a magnolia tree from seed, part one

Some of you might remember my failed experiment earlier this summer at drying magnolia blossoms. I might try it again next year, if I can get the proper desiccant (silica gel) in an appropriate amount at a reasonable price.

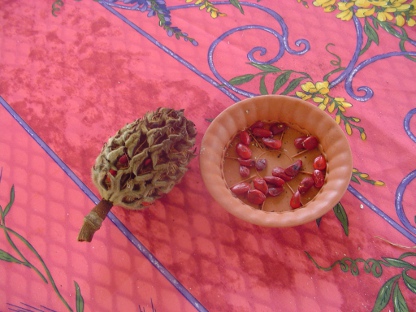
In the meantime, it is now Autumn and the magnolia blossoms have withered, leaving the pods filled with seeds for the birds and squirrels to eat.  The pods are pretty cool – big as pine cones and shaped like them, too.  I gathered a few fallen pods a few years ago and tried to make art out of them, but that idea failed as miserably as drying the blossoms had. I’m thinking of trying to preserve some pods again this year, this time using my handy dandy dehydrator or the oven to dry them out before painting.

But, my latest idea involves germinating magnolia trees from seed.

I picked a few pods on the ground near my tree and removed the seeds the squirrels and birds did not eat. Then, I researched the internet to find proper germination instructions.

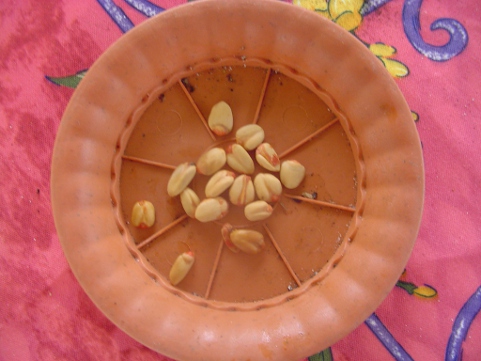
The internet said to scrape the red covering off of each seed, “scarify” them and then chill for a few months.

In the spring, I can plant the seeds about an inch deep directly in the soil or in pots and wait for a few weeks for them to germinate. After that, it only takes about 15 additional years to get some blossoms!

Will this be another failed magnolia attempt or might I finally find magnolia success?

My magnolia pods are about the same size and shape as medium-sized pine cones. After the seeds are removed, the pods can be dried and then used for crafty centerpiece projects and other cool outdoorsy decorations. The red covering on the seeds is easily scraped off with a fingernail.

After the outer covering was removed, I washed them in plain water.

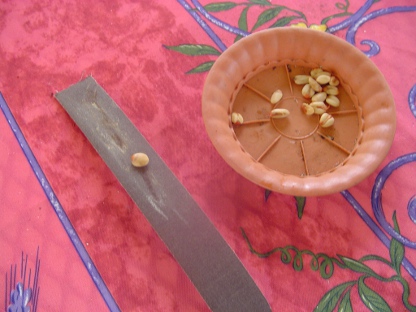
Then, I “scarified” them. Scarifying is the process of roughing up the seeds with sand paper or steel wool. I used a piece of sandpaper.

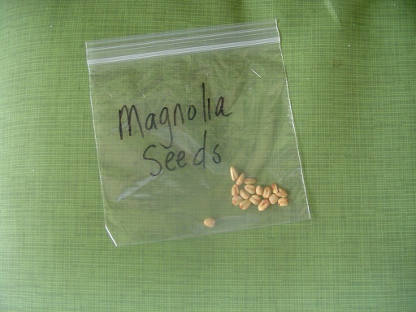
Then, I labeled them and stuck them in the workshop refrigerator for the winter.

I hope come Spring there is a part two to this story!

Share